Skip to content
Free shipping on all products to continental USA!
  • Free shipping
  • Buy now, pay later

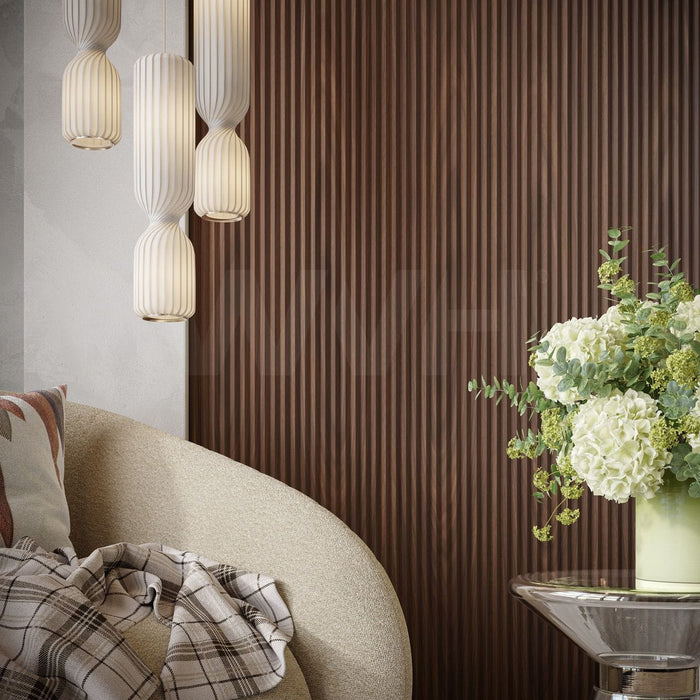
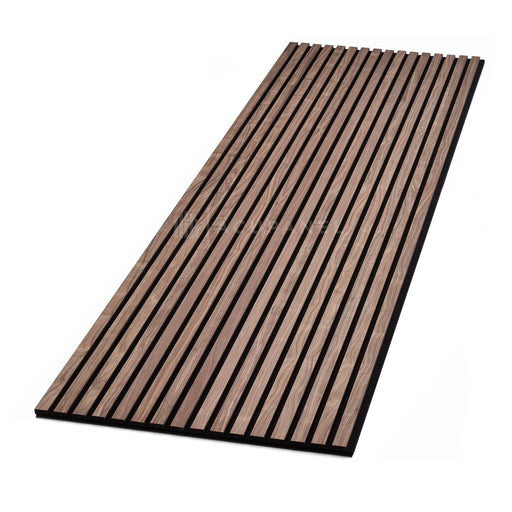
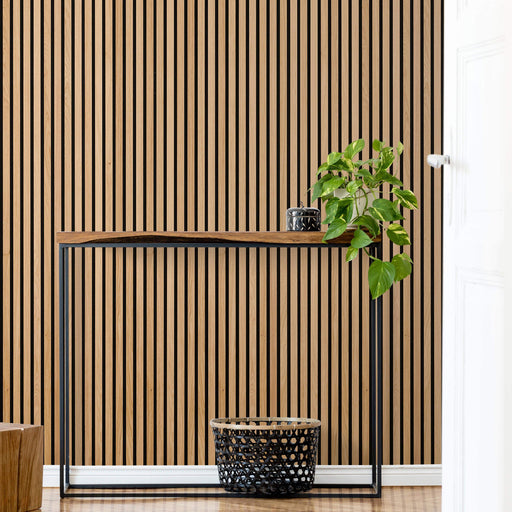
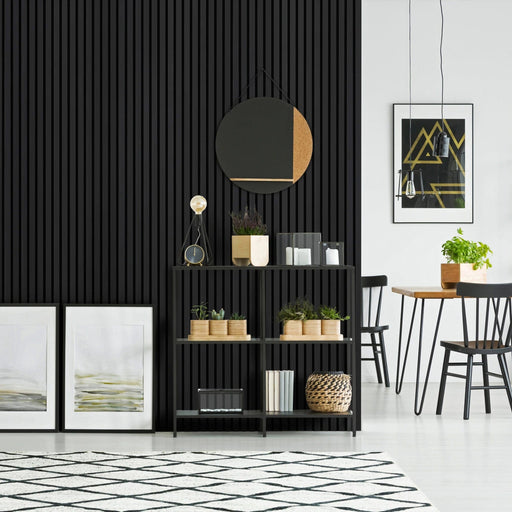
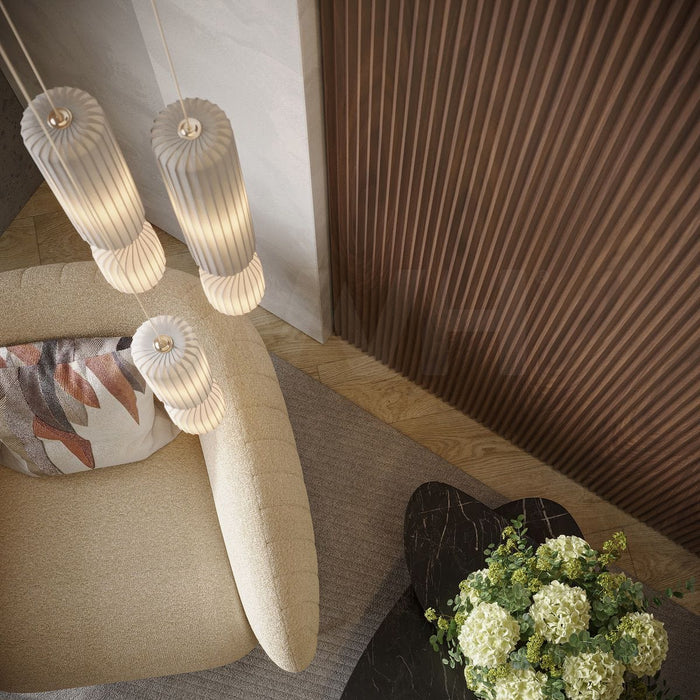
Walnut Zigzag Fluted Tambour Wood Effect Wall Panels

Original price $199.99 - Original price $199.99
Original price
$199.99
$199.99 - $199.99
Current price $199.99
Size: 94.09" x 5.86" 4 Pack (15.30 sqft box coverage)

Need help calculating box quantity?

Overview

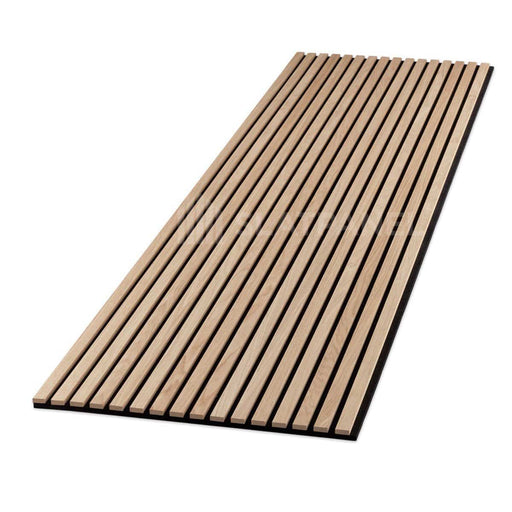
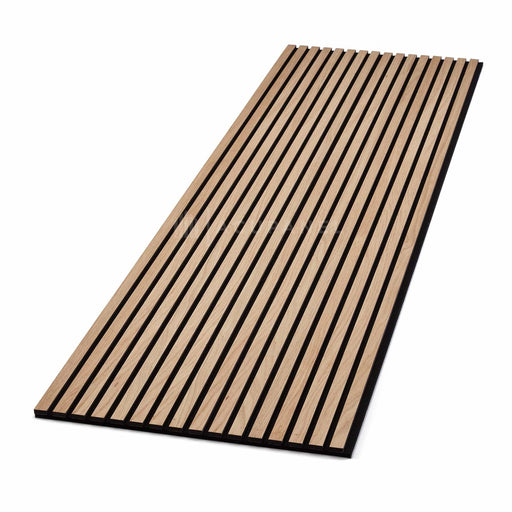
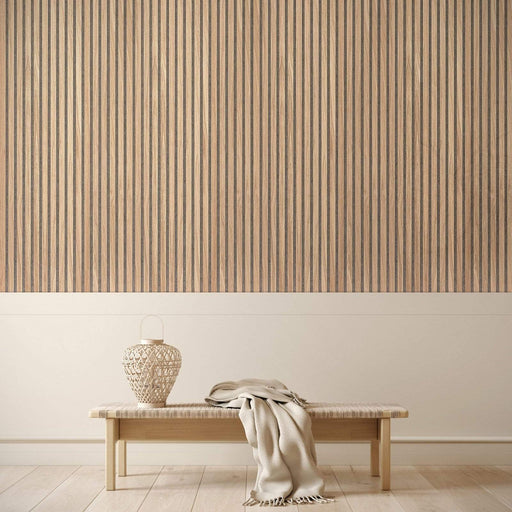
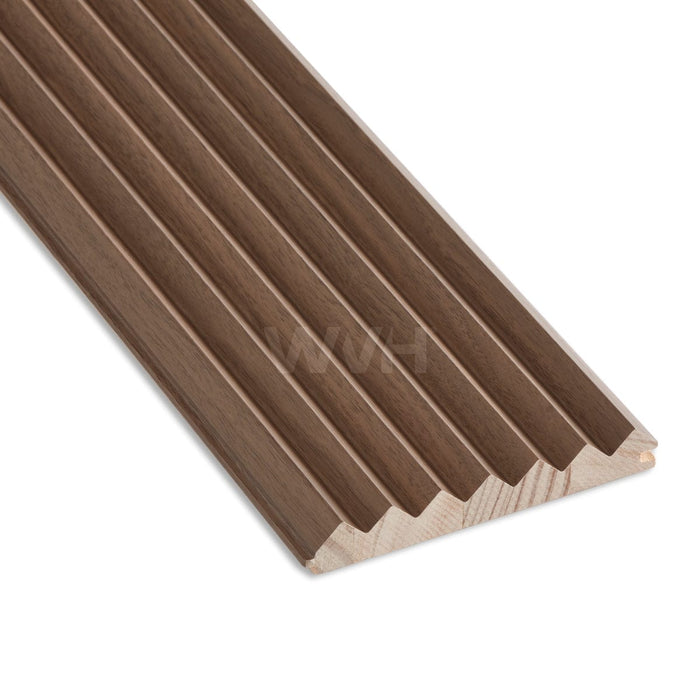
Meet our unique fluted wall panel, showcasing oak laminate and an eye-catching zigzag pattern, a perfect alternative to high-priced solid wood tambour panels. This panel blends grace and practicality with an enchanting fluted design, amplified by the modern zigzag pattern on the front.

The oak laminate is carefully created to capture the warmth and charm of real wood, offering improved durability and effortless upkeep. Welcome our efficient solution, providing you the quality and style of solid wood tambour panels without the high price tag.

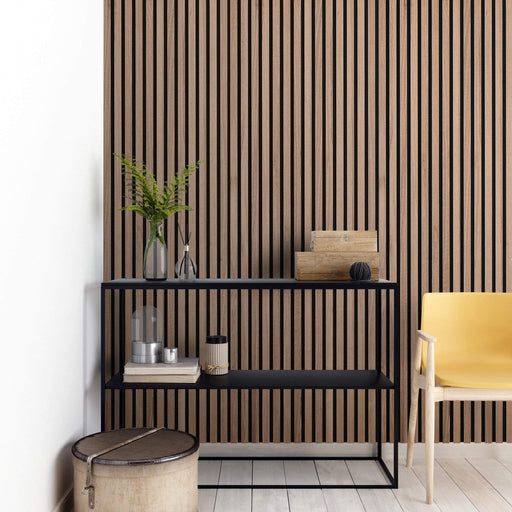
The lightweight design and interlocking edges of this panel make installation straightforward, ensuring long-lasting beauty. Delve into the timeless appeal of fine wood by choosing our fluted wall panel with oak laminate and zigzag pattern - a distinctive choice that adds a touch of elegance to any setting.

Key Features

  • Affordable luxury with high-end laminate finish.
  • Lightweight construction enables simple installation.
  • Elegant and in-trend pattern for timeless sophistication.
  • Mimics real wood's warmth and beauty.
  • Easy maintenance, resisting scratches and damage.
  • Budget-friendly alternative to solid wood tambour panels.
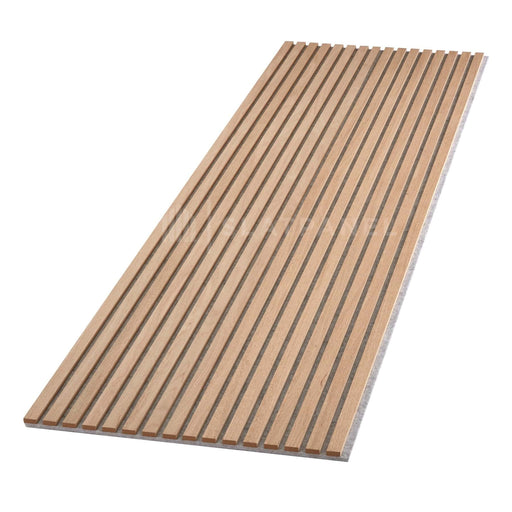
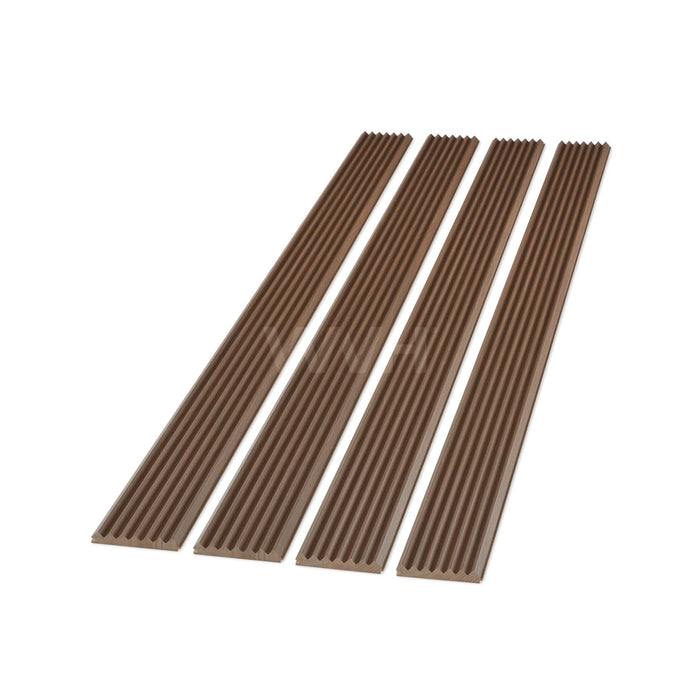
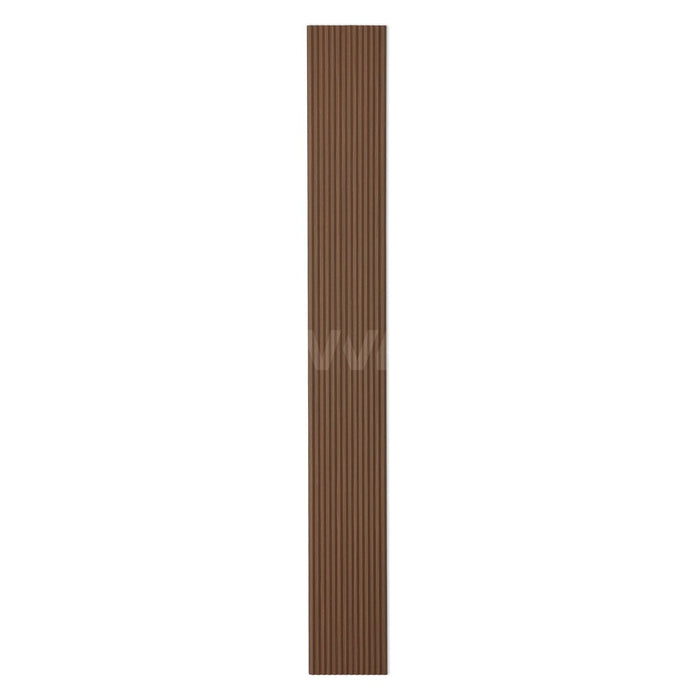
  • Each box contains four panels measuring 94.09" x 5.68".

Specification

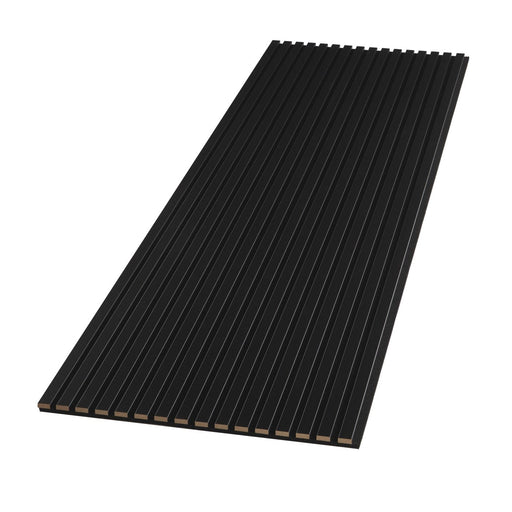
  • Multipack including four 94.09" x 5.68" panels.
  • 0.86" thickness.
  • Wood effect paper laminate.
  • Lightweight construction.

Installation & Downloads

Step 1: Preparation
Ensure that the area where you plan to install the tambour panel is clean, dry, and free from obstructions.

Step 2: Gather Necessary Materials
You will need a strong adhesive glue for the installation. Optionally, a nail gun can be used for additional reinforcement.

Step 3: Cutting the Panels
Should you need to resize the panels, they can be effortlessly trimmed using a hand or power saw equipped with a fine, sharp blade.

Step 4: Positioning and Gluing the Panel
Carefully place the panel onto the desired spot, pressing firmly to make sure the glued surface makes full contact with the wall. Apply an even layer of the adhesive glue on the back of the tambour panel. Make sure the edges and corners are well covered for optimal adhesion.

Step 5: Optional - Nail Gun Reinforcement
For extra security, you may use a nail gun to affix the panel onto the wall. This step is optional and depends on the type of wall and your preference.

Step 6: Clean Up
Immediately after installation, clean any excess glue that may have seeped out from the sides of the panel using a damp cloth.

Step 7: Drying Time
Allow ample time for the glue to dry completely. Refer to the adhesive manufacturer's instructions to know the recommended drying time.

Step 8: Repeat for Remaining Panels
Follow the same process for each panel, ensuring a proper alignment between panels for a seamless finish.

Shipping

UPS logo.

We offer free shipping on all orders!

You will be notified when your order is dispatched and provided with a tracking number through the courier.

Unraveling the elegance of tambour panels.

Immerse yourself in the world of tambour panels, a mainstay of interior design. With meticulously crafted wood effect slats, these panels exude sophistication, bringing timeless charm to both commercial and residential environments.

A symphony of beauty and durability.

Experience the impressive fusion of aesthetics and durability in tambour panels. Their unique texture, combined with the robustness of select premium wood styles, makes them a preferred choice for diverse design projects, standing the test of time gracefully..

The transformative power of repeat pattern panels.

Witness the transformative potential of tambour panels. Whether incorporated in a contemporary retail boutique or a comfortable residential kitchen, these panels blend seamlessly with existing decor, significantly enhancing the visual appeal and demonstrating their versatility.

Fluted Tambour Wood Wall Panels FAQ's

How do the fluted tambour wall panels arrive?

Each box contains four panels measuring 94.09" x 5.68" These panels will join next to each seamlessly with a tongue and groove style system.

Do the fluted tambour wall panels come in larger sizes?

We have designed the panels to join both width-ways and long ways so any length or width can easily be achieved.

How do I install the fluted tambour wall panels?

Transform your space with our easy-to-install tambour wall panels. Here's a simple step-by-step guide to help you achieve a flawless installation.

Step 1: Preparation
Ensure that the area where you plan to install the tambour panel is clean, dry, and free from obstructions.

Step 2: Gather Necessary Materials
You will need a strong adhesive glue for the installation. Optionally, a nail gun can be used for additional reinforcement.

Step 3: Cutting the Panels
Should you need to resize the panels, they can be effortlessly trimmed using a hand or power saw equipped with a fine, sharp blade.

Step 4: Positioning and Gluing the Panel
Carefully place the panel onto the desired spot, pressing firmly to make sure the glued surface makes full contact with the wall. Apply an even layer of the adhesive glue on the back of the tambour panel. Make sure the edges and corners are well covered for optimal adhesion.

Step 5: Optional - Nail Gun Reinforcement
For extra security, you may use a nail gun to affix the panel onto the wall. This step is optional and depends on the type of wall and your preference.

Step 6: Clean Up
Immediately after installation, clean any excess glue that may have seeped out from the sides of the panel using a damp cloth.

Step 7: Drying Time
Allow ample time for the glue to dry completely. Refer to the adhesive manufacturer's instructions to know the recommended drying time.

Step 8: Repeat for Remaining Panels
Follow the same process for each panel, ensuring a proper alignment between panels for a seamless finish.

What is the lead time on the fluted tambour wall panel range?

The panels are all in stock, so delivery takes 5-10 days. If we do have to wait for a new production run then it can be 2-3 weeks but please get in contact at the point of order, and we can confirm this right away.

Do you produce custom panel sizes?

We do not currently offer the panels in custom sizes; however, we have designed them to be easily cut if you need smaller. They also join together seamlessly if you need bigger.

Can the panels be used in a bathroom or kitchen?

The panels will be absolutely fine in these areas as long as they are not in direct contact of water.

Can the tambour panels be used outside?

The fluted tambour wall panel range is designed for indoor use only.

What do I do if I have plug sockets, windows or other items to install around?

It is straightforward to adjust the panels to fit around any object. You can cut the panels with a saw to then apply around any item you may have on your surface.

On which surfaces can I install the panels?

You can mount the panels on all flat surfaces including brick, concrete and plasterboard.

Can I apply anything behind the panels to increase sound insulation?

If installing with batons, then you can use mineral wool or other sound insulation material in-between the gaps which will increase the sound properties.

What is your return policy?

You can return unused acoustic slat wood wall panels within 30 days after delivery. View our full returns policy here

Still Have Questions?

Our team are available Monday to Friday 9.00am - 5.00pm EST to answer any questions you may have regarding our product range.